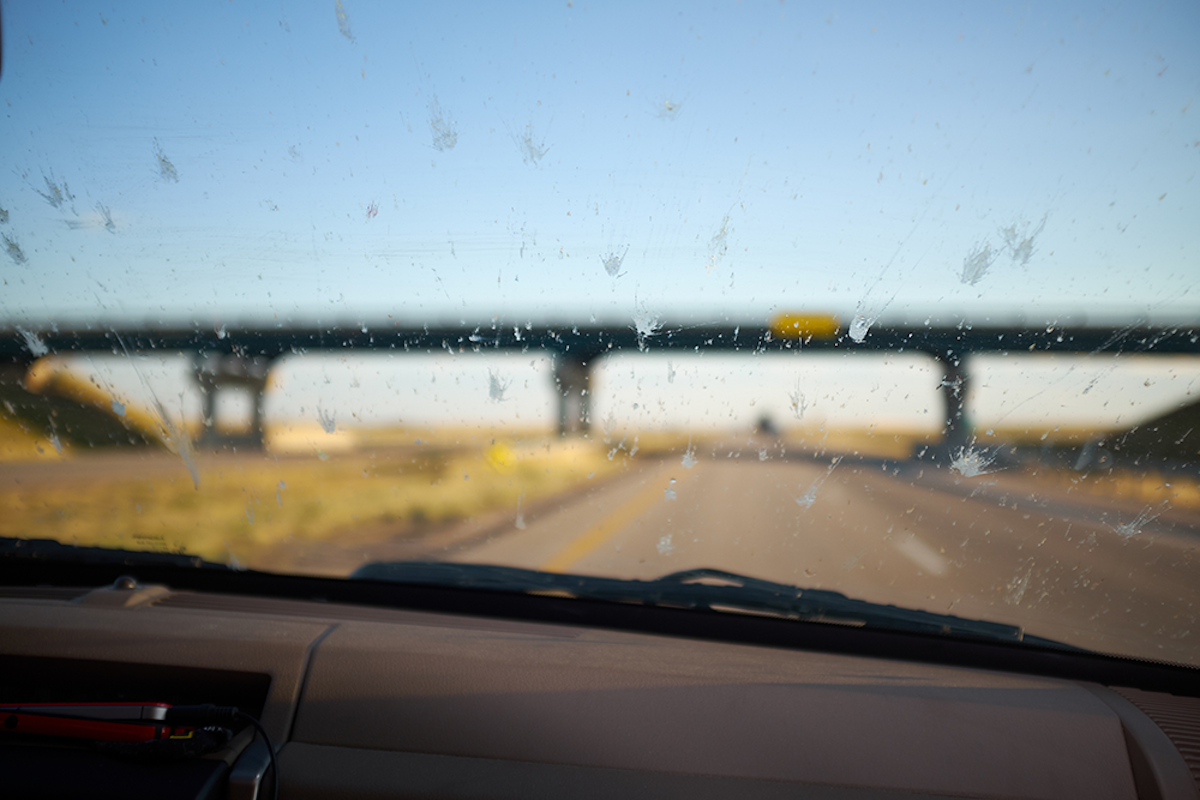
How To Remove Sticky Bug Goo

Driving through a cloud of insects can leave a scattered mess all over your windshield.
Nothing turns your summer drive into a sticky mess faster than driving through a horde of insects. And September often sees clusters of insects hovering over and around roadways, as harvest season serves as a popular time for bugs before they go dormant for winter.
Worse, bug goo can destroy your vehicle’s paint and bond to any surface, especially windshields and headlights.
“Heat accelerates the interaction of the bug remains with the paint finish,” said Michael Schultz, the vice president of product development at Turtle Wax. “The organic acids within them can result in paint etching that is hard to remove.”
Water alone won’t rinse away their desiccated remains from the fender, hood and side mirrors.
Below are some tips for getting those dried out bug remnants off your vehicle:
- Fill the washer fluid tank with a cleaner formulated for bug removal. A quality bug fluid helps remove gooey insect parts and prevent streaking when you use windshield wipers.
- Look for soaps designed to remove bugs from vehicle surfaces. Be sure it is intended for automobile surfaces and rinses easily.
- Avoid harsh solvents such as detergents. Dish soap or household cleaners can permanently damage paint and rubber surfaces.
- Avoid using sponges with soft netting traps insect parts. Insect parts trapped in the netting acts like sandpaper and can leave scratches and swirls.
- Apply wax. Waxing a vehicle after washing provides a layer of protection against future stains. Wax helps prevent contaminants from adhering to the paint.
- Use a clay bar to remove grit. Simply put, clay bars remove contaminants bonded to the surface. Ever used Silly Putty to take print off a newspaper page? It’s the same basic principle when using clay on a vehicle’s paint job. Claying can also remove paint swirls, grit, brake dust and other unsightly blemishes from the paint.